Dealing with difficult clients as a dog trainer: Tips for staying professional and setting boundaries
Let's take a few minutes today to chat about an issue almost every dog trainer faces at some
The one thing many trainers overlook when working with reactive dogs
What's the one thing trainers tend to overlook when working with reactive dogs and their people?
👉 Instilling relaxation
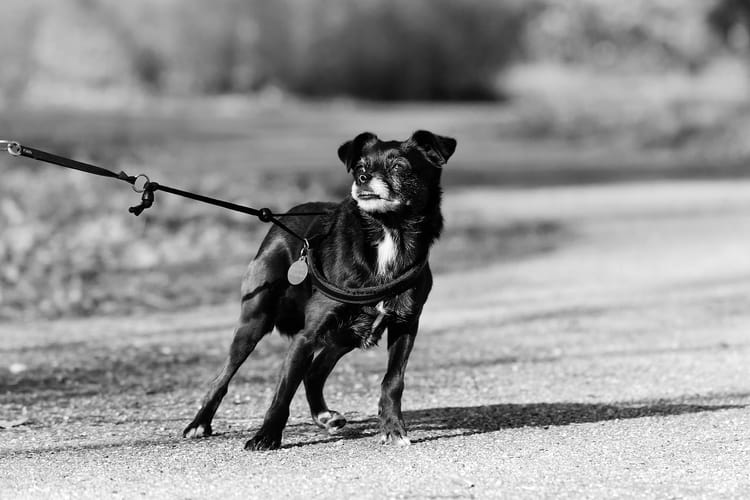
Functional communication on walks: A game-changer for reactive dogs
Transform your walks in the park with our guide to Functional Communication Training for reactive dogs. Discover techniques to manage lunging and barking, and turn stressful outings into enjoyable experiences.
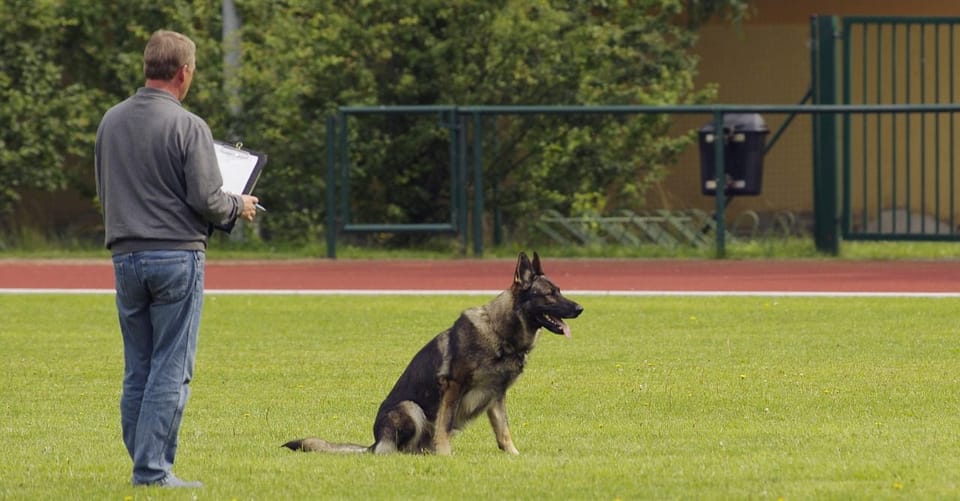
Become a confident in-home dog trainer: Free guide on how I conduct in-home training sessions
Unleash your potential as a professional dog trainer with our guide, "Secrets to Successful In-Home Training Sessions." Master the art of first impressions, streamline your sessions, and boost your confidence. Your journey to becoming the sought-after trainer starts here.
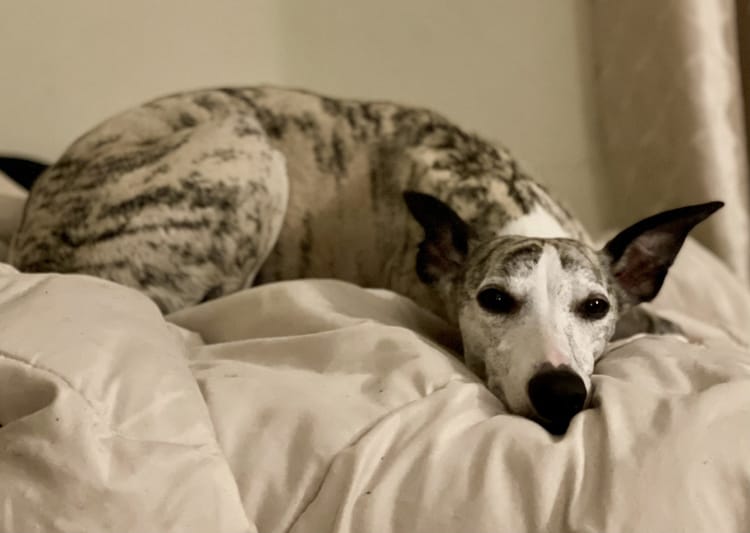
Keep an eye on emotions to ease your dog's learning curve
Dog trainers can incorporate breaks and use a dog's body language to read emotions and improve communication and training effectiveness.